Aquarium controller mount STL generator
Controllers end up balanced on a shelf or hanging by their cables. Give yours a holder sized to it: type the width, height and depth, and the device drops in from the top behind a front frame.
Free to design · 1 credit per new design · Watertight STL + 3MF

How it works
Your numbers, not ours.
The frame’s window keeps the screen and buttons usable, and you set its width, its position and how much the bottom bezel covers. Tilt the holder back up to 30° so a display mounted low in the stand still faces you. Cables leave through an opening in the floor or slots in the sides, and a press-on drip cap keeps water off the top.
What you can tweak
- Device width 20–300 mm, height 20–250 mm and depth 8–120 mm, plus fit clearance
- Front window width and position, and the bottom bezel
- Tilt from 0 to 30°
- Floor opening and side cable slots
- Press-on drip cap with a front visor
- Screw tabs, zip-tie slots or a flat back for adhesive pads


Print tips
Print it right the first time.
Calibrate once
Print the free Fit-Test Coupon with the printer, nozzle and filament you’ll use. ReefCAD applies the result to the holes and friction fits it makes after that.
Pick your printer first
Choose your printer (or enter its bed size) and ReefCAD checks the part against the bed before you export.
Use PETG or ASA in the tank
For parts that live in saltwater, skip PLA. The filament guide explains the trade-offs.
FAQ
Controller Mount questions.
Yes. The front frame has a window you size and place, and it runs up through the top edge, so only the bezel you choose covers the front.
Measure your device with calipers and type its width, height and depth. The fit clearance (0.5 mm per side to start) goes on every side.
No. It prints standing up, as it hangs. The window opens through the top so nothing bridges over it, and a tilted holder sits on a solid wedge with a flat bottom and back.
Screw tabs at each end, zip-tie slots for wire shelves and pegboard, or a flat back for adhesive pads.
More parts
Same fit, different job.
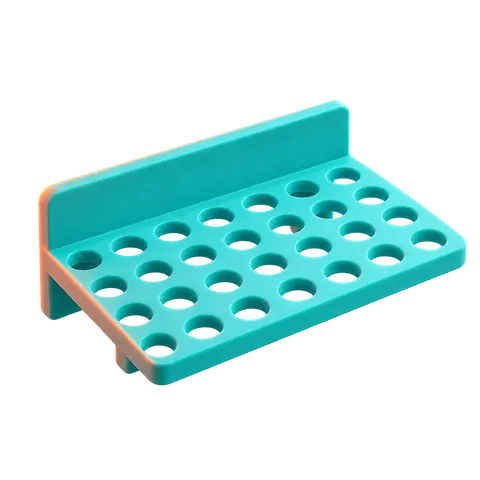
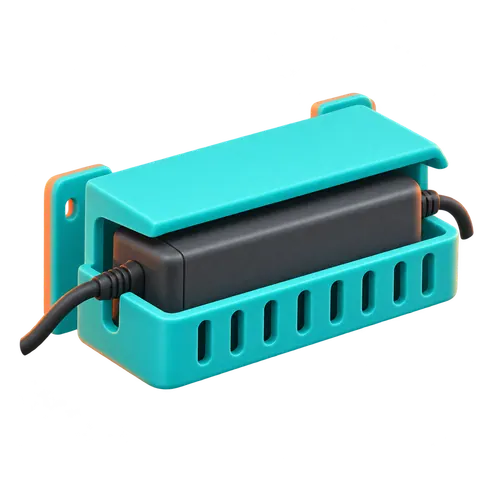
- Water Test StationOne home for your reef test kits.Reef water test station STL generator


Stop buying racks that almost fit.
Your tank, your plugs, your printer. Design it in a minute, print it tonight.